Azure AKS (Azure Kubernetes Service)
There is a guide offered by Microsoft for creating a new Kubernetes cluster using their Azure Kubernetes Service (AKS). You can reference the link below if you'd like the full guide and documentation. For the sake of this installation guide we'll be providing a high level summary of the steps you'll need to take using their guide.
note
The AKS Quickstart guide assumes that you have a basic understanding of Kubernetes
Getting started with AKS#
If you do not already have a Microsoft account you can create one here. New accounts may potentially receive a $200 credit towards evaluating different Azure solutions like AKS.
note
You may need to provide payment information when creating a new account.
Once logged into your Microsoft account you can create a new cluster with AKS in the following steps:
- Create an Azure resource group: A logical group in which Azure resources are deployed and managed
- Enable cluster monitoring
- Create the cluster with
az: The Azure command-line interface used to create and manage Azure resources
Create a Resource Group#
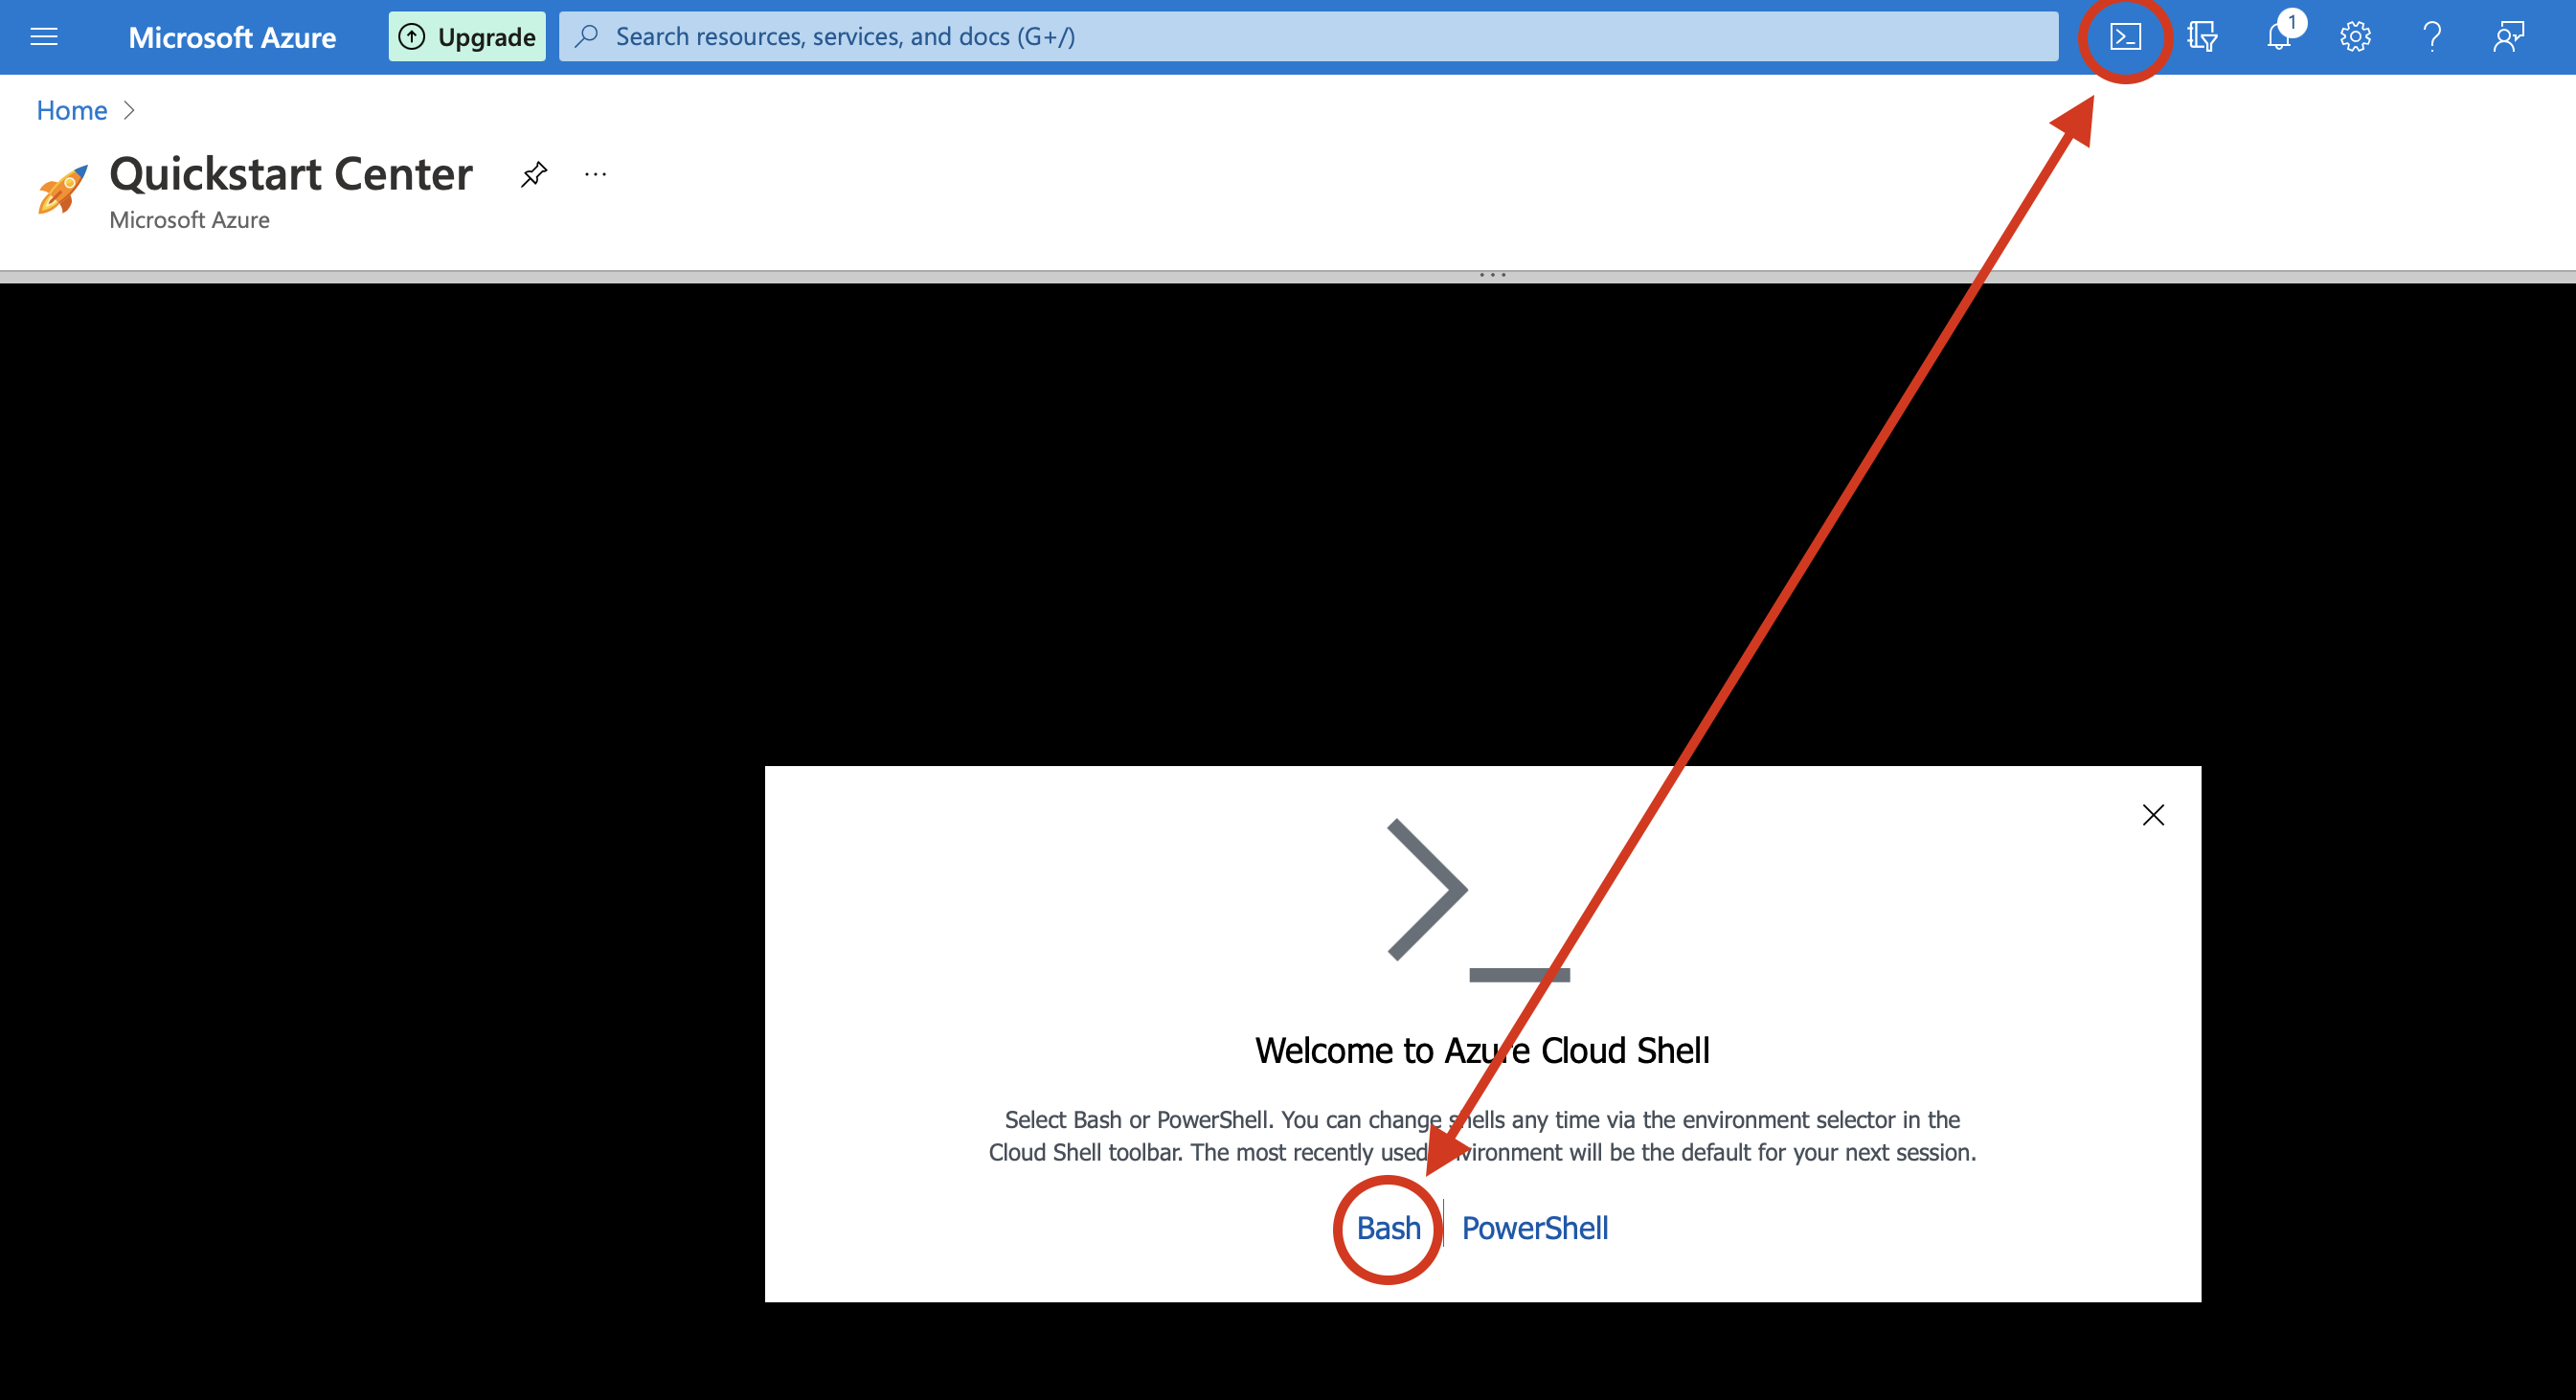
Open the Azure Cloud shell available to the right of the search bar on any dashboard page and select 'Bash' as your shell type.
note
You may be prompted to create file storage within your shell. Simply create some default storage and continue
You can create a Resource Group with the following command. Replace {example-values} (including {}) and take note of the values you use, you'll need them later.
Verify you have the following or similar in the JSON response from the create command:
Enable Cluster Monitoring#
You can run the following commands in the Azure Cloud Shell to see if monitoring is already enabled for your Microsoft account subscription:
If your table output for the column 'RegistrationState' is anything other than 'Registered', than you'll need to run the following commands:
You may need to wait a few moments for these commands to run but once 'RegistrationState' is 'Registered' for both commands you can procceed to the next step.
Creating a new cluster#
Open an Azure Cloud Shell if you don't have one opened already and run the following command:
This will take a few moments and once complete you should see a rather large output. Next we need to configure kubectl to your new cluster. kubectl is the Kubernetes command line tool for interacting with your clusters and comes pre-installed with the Azure Cloud Shell.
To configure kubectl to connect to your new cluster run the following command.
tip
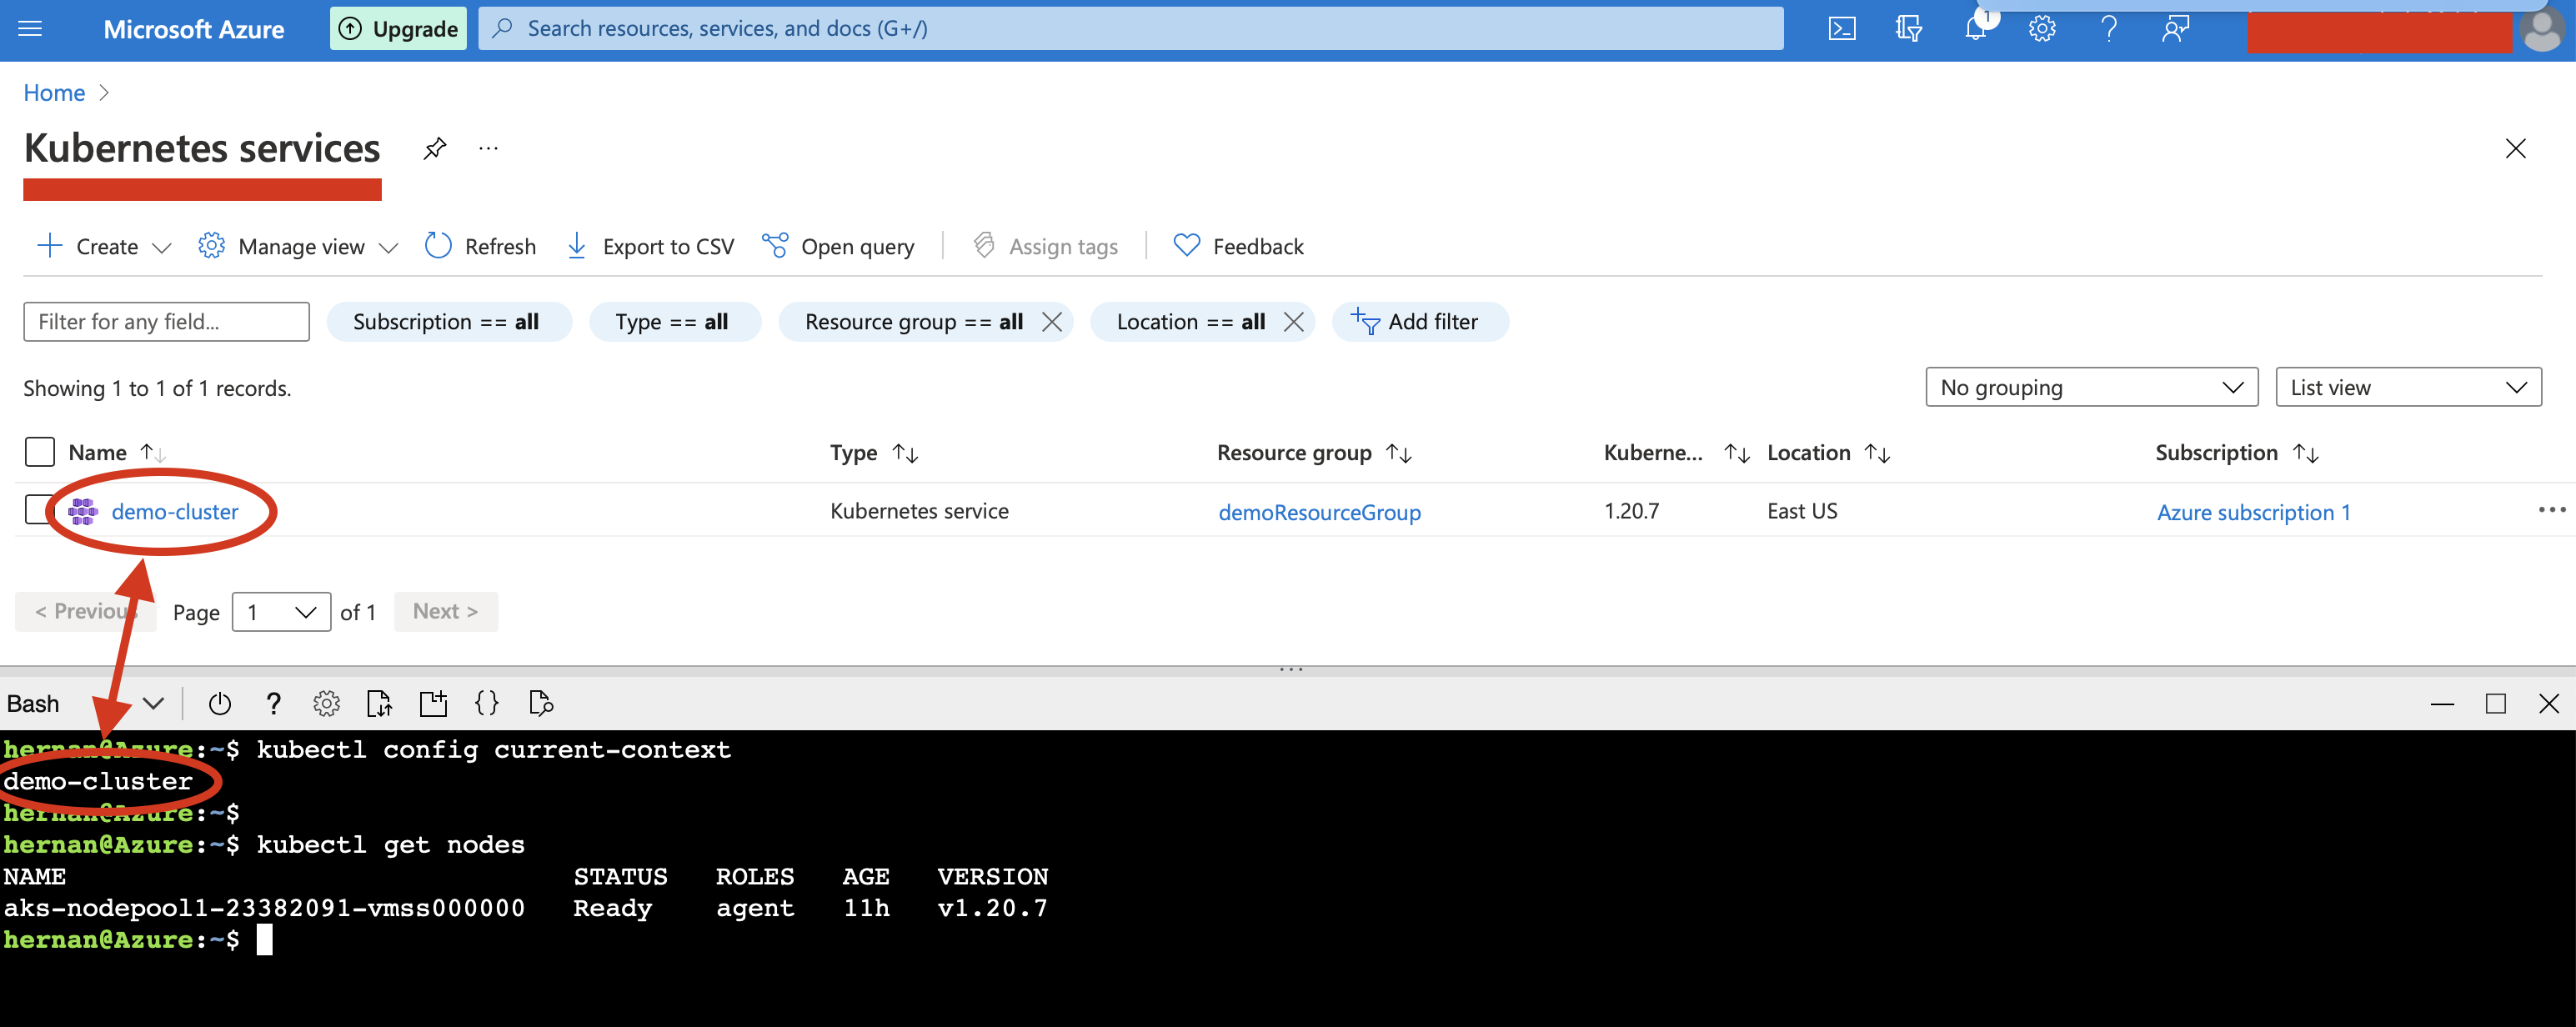
You can also view your cluster by searching 'Kubernetes services' in the Azure cloud portal.
Congratulations! You should now have a cluster up and running with AKS and be able interact with your cluster using kubectl.
You can view your cluster nodes by running: kubectl get nodes and see which cluster your kubectl is configured to by running kubectl config current-context, as shown below.
To delete this cluster and clean up your Azure resources, simply run:
note
While the command above will delete your cluster and most resources it will not delete the Azure Active Directory service principal used by AKS. View the full AKS quickstart guide for instructions on how to remove this resource as well
You can now proceed to our documentation on connecting to a cluster