Connecting to Jetic
important
This guide assumes you already have registered an account with the Jetic Platform. If you do not please do so first and then return to this guide.
Connecting your Kubernetes cluster to the Jetic Platform will allow you deploy and manage your integrations directly from the platform. The connection process is relatively simple and can be described in the following steps:
If you do not currently have a cluster then you will need to create one before proceeding. We offer helpful overview guides for creating clusters with popular Kubernetes cloud providers. Simply select from one of the cluster guides listed below.
important
Some cloud providers may offer limited free access to a Kubernetes cluster, but for a totally free way to get started consider our Minikube Quickstart guide
- Google Kubernetes Engine (GKE)
- Elastic Kubernetes Service (AWS EKS)
- Azure Kubernetes Service (AKS)
- Minikube Quickstart Guide
This connection guide may require some additional configurations for your cluster depending on your clusters type e.g. DigitalOcean, OpenShift, GKE, AKS, EKS, etc.
Create a Jetic cluster#
The cluster object you create in our platform will eventually connect to your actual Kubernetes cluster.
Log into the Jetic Platform and click the plus '+' button in top left underneath the Jetic logo. Select the 'New Cluster' option.
tip
This plus '+' button is available on all screens of the Jetic Platform and provides quick navigation to create clusters, integrations, and projects.
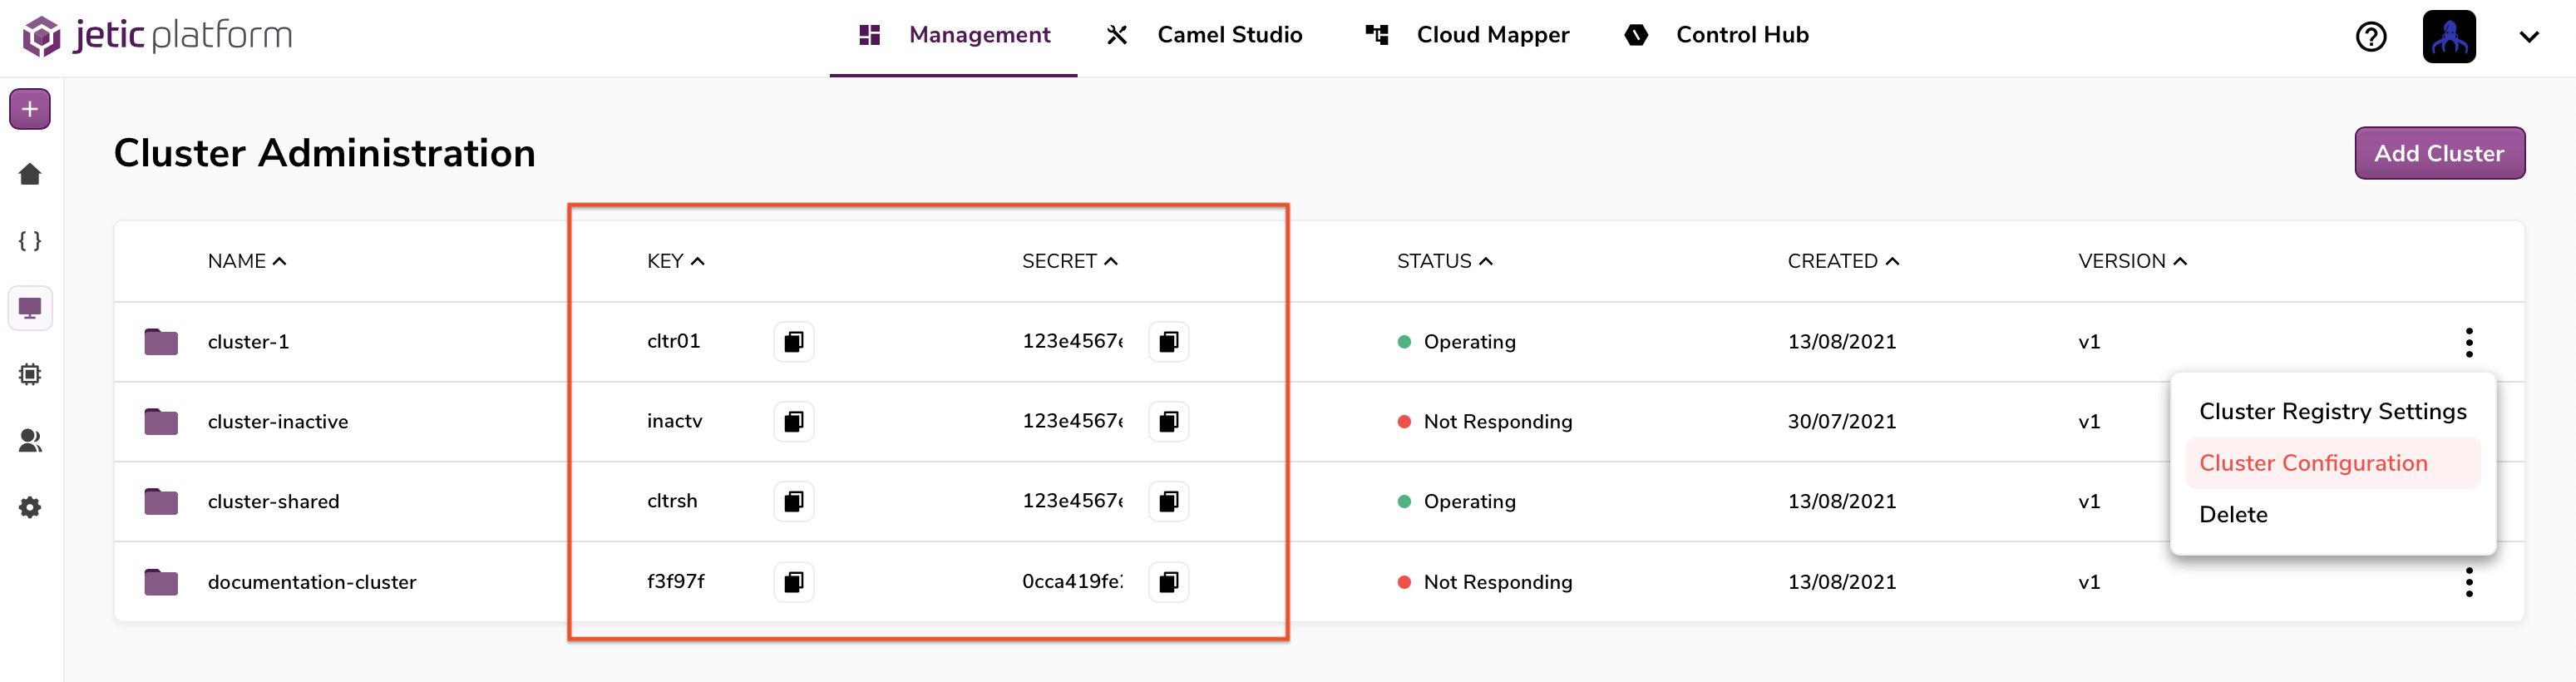
Fill out the cluster form and once your cluster is created take note of the following because you'll need them in later steps. Without them you won't be able to connect your cluster to our platform.
- KEY
- SECRET
At this point we're ready to focus on your actual cluster.
Adding Camel K to your cluster#
Apache Camel K is a powerful, lightweight integration framework designed specifically for running integrations in Kubernetes. There is an official install guide provided by Apache that walks through cluster requirements & Camel K installion methods.
Cluster requirements for Camel K#
The cluster requirements section of the official install guide contains a list of the following clusters that have additional configuration requirements:
Minikube
Red Hat CodeReady Containers (CRC)
Google Kubernetes Engine (GKE)
OpenShift
IBM Kubernetes Services (IKS)
K3s
Kind
Always refer to the cluster requirements for the latest information cluster requirement list.
The main requirement is going to be ensuring that you have a container registry available for camel-k installation. This coule be a docker repository, Google container registry, etc. This registry will be required before actually installing camel-k.
tip
Minikube clusters have a built in container registry that you can enable. See the cluster requirement documentation for more details
Install Camel K#
After your cluster requirements are met for camel-k, the offical guide will walk you through different methods of installation using:
- Kamel: The Camel-K command line tool for running integrations in a Kubernetes cluster
- Helm: A package manager designed for deploying applications in Kubernetes.
Using Kamel#
When running the kamel install command make sure you add the following: --maven-repository https://repo1.maven.org/maven2/ --maven-repository https://us-central1-maven.pkg.dev/aqueous-flames-274123/maven-repo
For example: kamel install {additional-commands} --maven-repository https://repo1.maven.org/maven2/ --maven-repository https://us-central1-maven.pkg.dev/aqueous-flames-274123/maven-repo
note
Using --maven-repository will ensure your camel-k installation is able to reference dependencies in our maven repository.
Using Helm#
The official install guide for helm can be found on the Camel K page in Artifact Hub (formerly Helm Hub). There you will find more detailed information on how to install Camel K using Helm.
Install Jetic Bridge#
Our Jetic Bridge is a small application we've created which follows the Kubernetes Operator design pattern. It is installed in your kubernetes cluster so that it can manage all your integration deployments from our platform.
We currently offer the following methods for installation:
- Using Helm: A package manager designed for deploying applications in Kubernetes
Using Helm#
With Helm, you can install our Bridge in the same way that you would install any other Helm chart.
Start by adding our managed chart repository to your helm client. Provide the repository with a name, for example jetic-platform.
tip
You can see all the charts that are available in this repository by running helm search repo jetic-platform
You can now install the jetic-bridge using the helm install command but be sure to add the following parameters. They should have been gathered in previous steps, but you can find them in Cluster Management:
- cluster.key
- cluster.secret
For example:
In the configurations section below you'll find additional parameters that you can set to tailor your installation.
After running the install command you can view your newly created helm release by running helm list or helm ls
important
You may need to run the command helm repo update if you run into issues installing our chart the first time
You're now ready for the next step of validating the installation.
Configurations#
| Parameters | Description | Default | Required |
|---|---|---|---|
| cluster.key | A unique identifier for your cluster. Provided in 'Cluster Management' | n/a | true |
| cluster.secret | A randomly generated string for authenticating with the Jetic Platform. Provided in 'Cluster Management' | n/a | true |
| namespace | The kubernetes namespace the jetic-bridge should be installed in | default | false |
| logging.level | The verbosity of the jetic-bridge logs | INFO | false |
Verify Bridge install in your cluster#
Whether you used kubectl or Helm, you need to verify that the jetic-bridge is installed correctly. Provied there were no errors during installation, check to see if you have the pod, jetic-bridge, running in your cluster. You can achieve this by searching your pods with kubectl and running
kubectl get pod
If you're using Minikube as your cluster and don't have kubectl installed separately, you can use:
minikube dashboardto view your cluster in browser orminikube kubectl -- get pod
If you see this pod has a status of 'running' or similar then congratulations. Your cluster should have successfully connected to the Jetic Platform! You're ready to move on to the next step of creating and deploying your first integration.
Deploying an integration to your cluster#
Now that your cluster is connected to our application it's time to create a new integration.
In the 'Management' dashboard select the '+' button in the top left, select 'New Integration' and fill out the modal form. Once you create a new integration you'll be automatically navigated to our Camel Studio where you can edit this new integration. In the side bar on the left side of the studio, select the 'Catalog' icon and drag over a timer & log component as shown below.
tip
You can search for a component in the catalog side bar or by clicking any available '+' icon in the studio
For now we won't worry about configuring the components and will just keep their default values.
In the deployment bar at the bottom of the studio you'll find a cluster drop down. You'll need to update it by selecting the name of the cluster you created at the beginning of this guide. Once you've selected your cluster you can simply hit the 'Run' button.
At this point your integration is being deployed to your Minikube Kubernetes cluster! You can view the build logs of the new pod being created in your cluster in the 'Build Log' tab. Once your pod is finished building you can view the integration logs in the 'Execution Log' tab. You should now see a regular interval of logs coming in from your timer & log components so congratulations, you've just deployed a new integration to your Kubernetes cluster!